


Getting Started
Development involves writing the client side application over the client SDK and the server side application using the server side SDK.
The best to get started is to get the sample server and client application running. We will explain the process through the chat server application. Other samples provided (SpaceWarFare, Rummy cards etc.) can also be run in a similar way.
You can follow the steps below – there is also a video which illustrates running of the sample from scratch.
Note AppWarp S2 requires the following to be installed on the server machine.
- JAVA: JDK 1.7 or above
- ANT: apache-ant-1.8.3 or above
- Get the Chat Server sample from our downloads page.
- Unzip and navigate to Chat Server folder.
- You can either run the server using the provided script files (OS dependent) or open it as a project in your favorite Java IDE such as Eclipse or Netbeans.
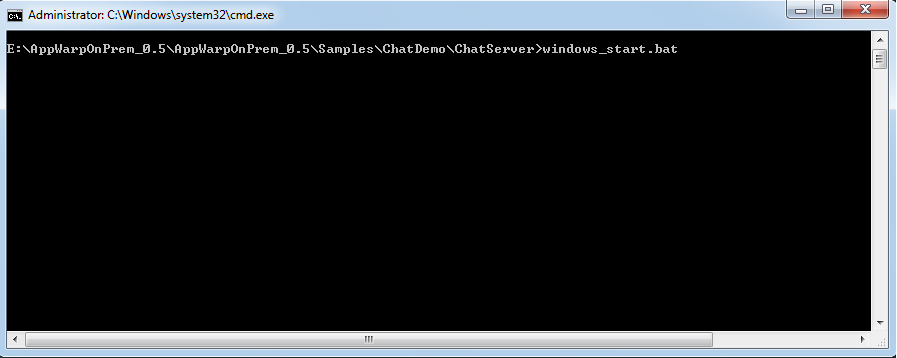
- To run using script, ensure the script files are there in the ChatServer folder. You can now run the scripts from the command line or simply double click on them.
Starting the server application
windows
This will launch the server in a new command prompt.
windows_start.bat
linux
linux_start.sh
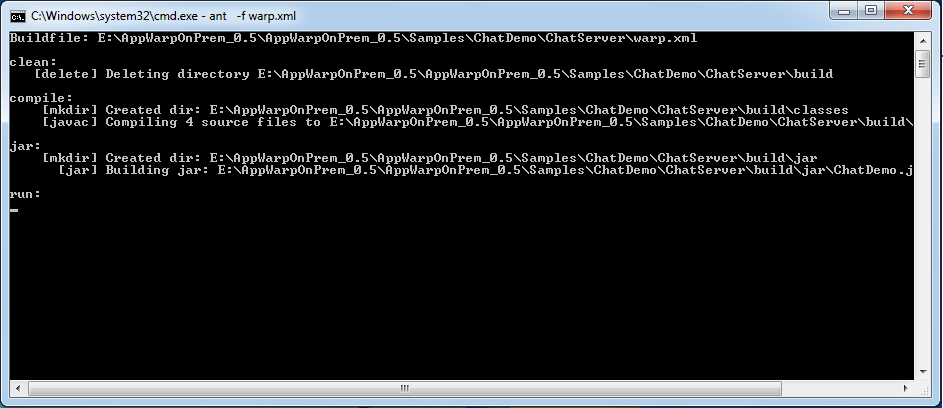
MacOS (run directly using ANT)
ant -f warp.xml
Launched client
To run using Eclipse IDE, do the following steps
- File->New->Java Project
- Enter project name for example ‘ChatServer’
- Finish
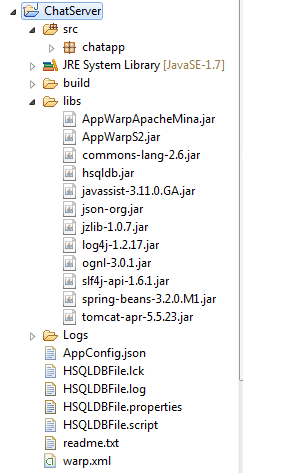
- Right click the project and import->File System
- Import the downloaded ChatServer folder and click OK
- Verify that the project is setup correctly and looks something like below
- Now add the JAR files in the lib folder to your “build path”
- Run the project (select the Main class in the ChatApp when prompted)
Similarly, you can do it for NetBeans.
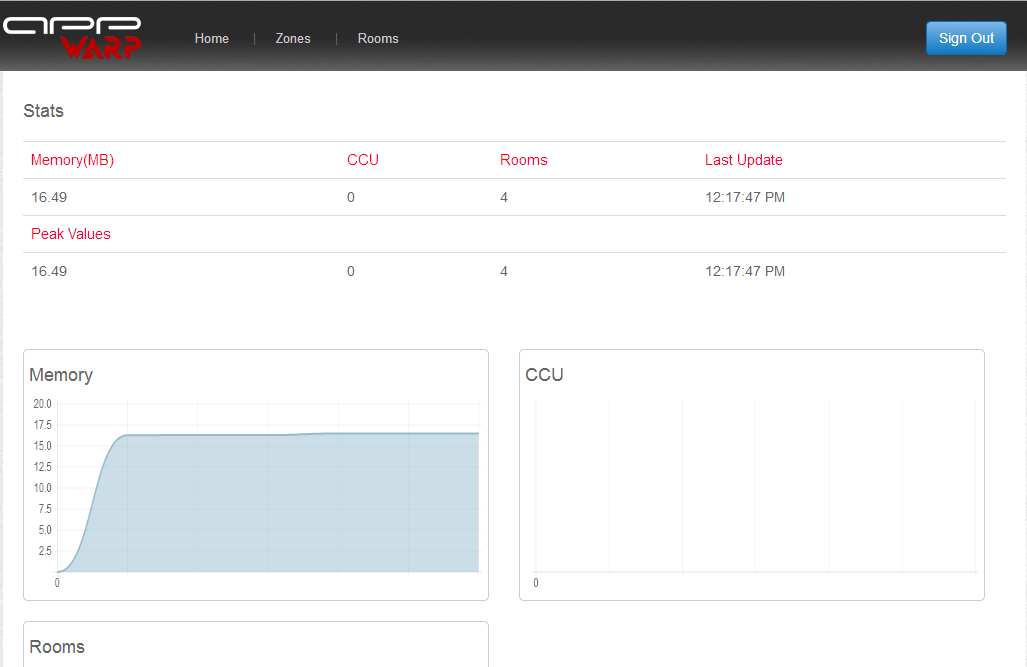
Now you need to create a zone using the dashboard (required only first time)
You can use either the dashboard hosted on our site or download it if you want to host that yourself. To host it yourself, follow the below instructions.
- Download the Admin Dashboard.
- Copy it to your web server’s directory and start your web server
- Navigate to your localhost
- Note that the server from the previous step must be running before you open the dashboard.
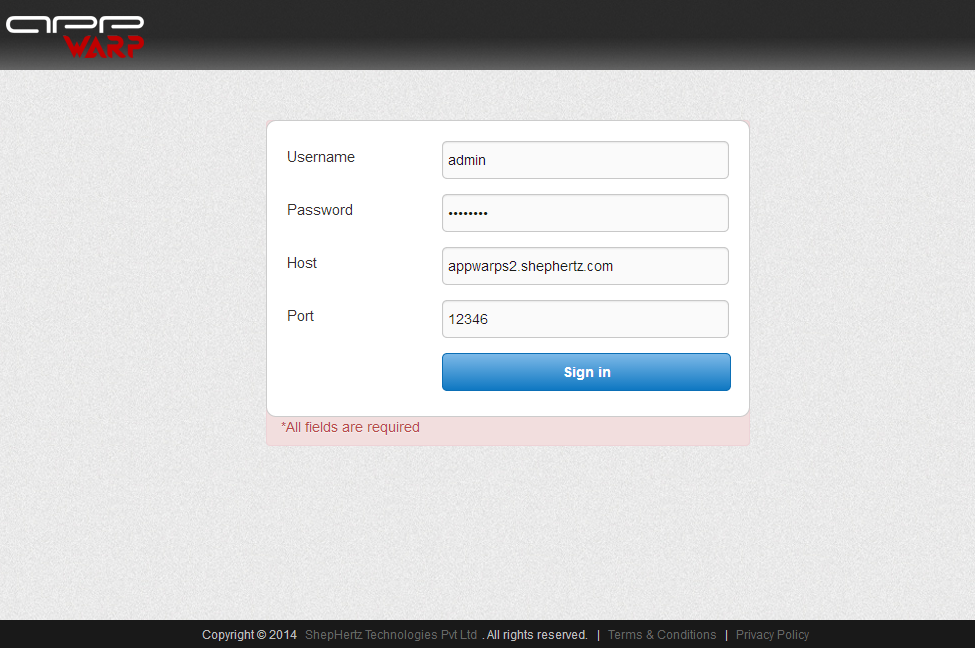
- Now enter the username and password as in your AppConfig.json file (default values are matching so just click sign in). The Host value should be the address where your AppWarp S2 server is running. (127.0.0.1 if you are working locally)
- Now click on the zones tab on the left
- Now enter a zone name and click on “Create Zone”
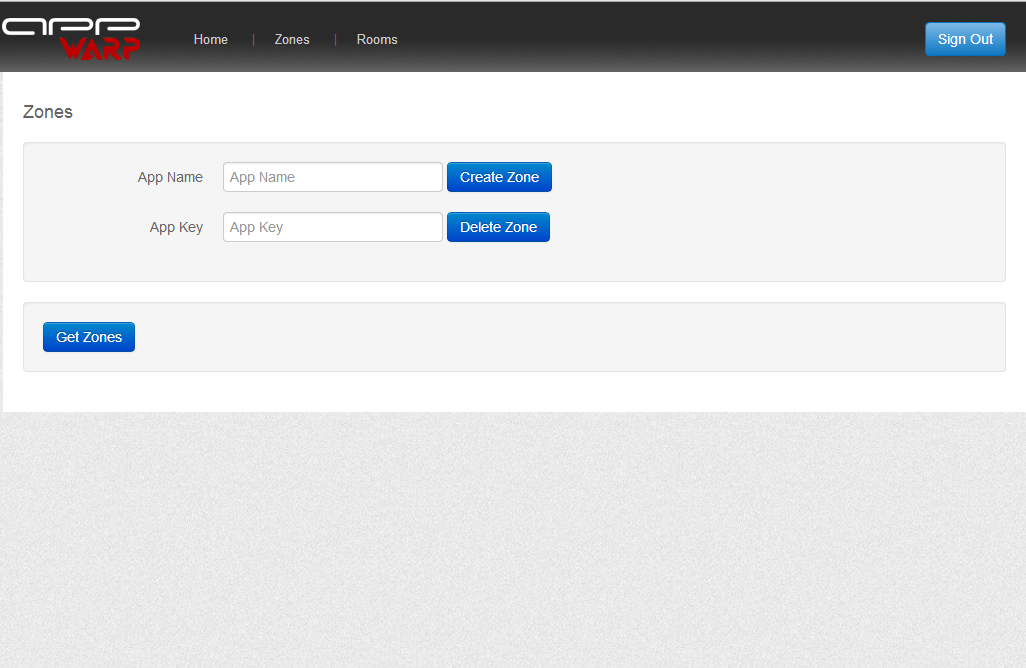
- Note down the AppKey
- Now navigate to the Rooms tab and create a new room by entering the same AppKey as in the last step.
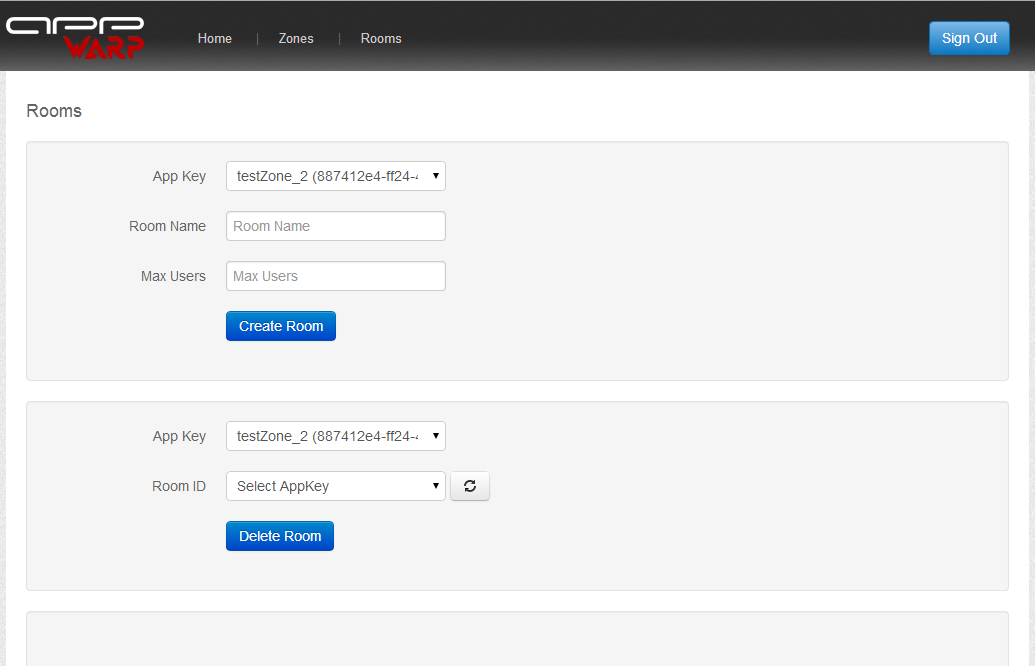
- Note down the room id generated.
Now we are ready to edit and run the client HTML5 application
- Open the index.html file in the HTML5ChatClient folder in a text editor
- Replace the apiKey var value with the AppKey of the zone you created earlier.
- Replace the AppWarpS2Host var value with the address of the server.
- Save the file and open it in a HTML5 supported browser like Chrome.
- Enter your name and connect.
- Now join any of the rooms created earlier (should be visible on the left).
-
Enter messages and notice how the messages with “profane” text are dropped.
-
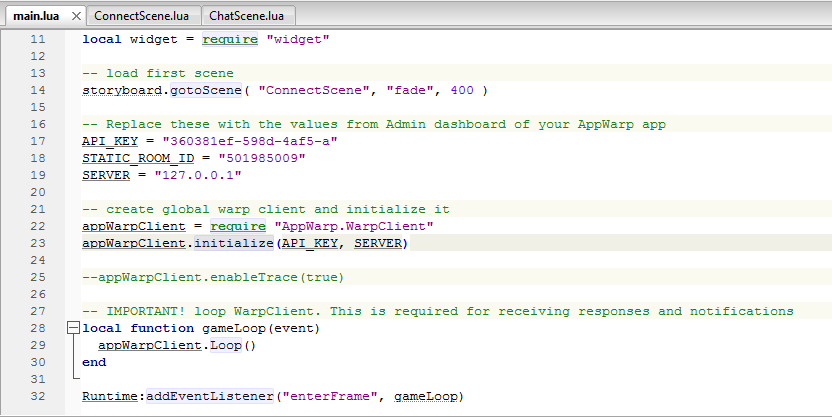
For the Corona client, you need to edit the main.lua file in the Corona client folder as indicated below and replace the values
Now run the sample Corona client.
Congratulations! you just ran your first AppWarp S2 application :)
To understand how the server side logic of this app works read the following document
Samples walkthroughs